Saturday, August 30, 2014

Football Time!

Hey everybody:) A quick post today, just wanted to share my nails for this weekend. With football back in full swing and the unofficial start of fall, I wanted to share this mani (I've seen this a couple of times on pinterest).


This mani was super easy to create and is great for games! I used Zoya Emilia and Midori. Leave me a comment and tell me what you think of this "football" mani and what you might be doing this weekend!

Happy Polishing Everybody!
Love,
~Anne~

Wednesday, August 27, 2014

Copycat Nail Art

Hey everybody:) Today I have some nail art for y'all that I originally found on Pinterest, this nail art is a Copycat from la_manisera on Instagram. I just fell in love with the design and colors and had to give it a try:) 
I started off with all my "base colors" , the pink is China Glaze Flip Flop Fantasy, Zoya Chanelle (taupe), Zoya SnowWhite and  Raven. After they had time to fully dry I did the top coats, leopard print and stripes also the dots (I used Salon Perfect Gold Leaf). After they all had time to dry again I used a matte top coat and BAM instant awesome mani!


I just love this mani and got tons of compliments from everybody that saw it! Leave me a comment and tell me what you think.

Happy Polishing Everyone!
Love,
~Anne~
  

Tuesday, August 26, 2014

Zoya Naturel (2) Swatch and Review

Hey everybody:) Today I have Zoya's Naturel (2) collection to show y'all, they sent me these for review. I wanted to wait a little while before showing y'all these fall polishes  A) cause it's still hot as blue blazes here and B) cause it's not Fall yet! I know some of y'all like to see stuff early but I just couldn't bring myself to swatch these fall colors .... until now! With the unofficial closing of summer aka Labor Day is this weekend I thought I better get on with it (even though it's still hot out).

Zoya's Naturel collection are 3 warm browns and 3 mauve polishes that are a great way to bring you into the Fall state of mind!
Spencer is the lightest brown, a taupe cream polish. I like this color and really wanted to keep it on, looked great with that end of summer tan and can still be worn into Fall.


Chanelle is the medium brown cream polish. This polish had me in the mood to do some nail art! Looks like the perfect color to use as the base in a leopard print ;)


Emilia is the deep brown cream polish. This polish really reminded me of milk chocolate. A great brown for Fall but on me I just thought it was a little too dark!


Madeline is the lightest mauve, cream polish. This polish is a great transition color from Summer to Fall in the fact that its not bright but not too dark.


Aubrey is a medium mauve cream polish. I think that this polish might get some serious use later in Fall, great color and with my skin tone I just fell in love.


Marney is a dark mauve cream polish. This is going to be on my toes for Fall, what a beautiful mauve! I love this color, it would be a great addition to anyone's collection.


Overall I liked this collection, thought it was a little redundant with colors. I don't think you should buy the whole collection but maybe get one of each (brown and mauve) that complements your skin tone. If you want to find out more about Zoya just click HERE.


The product(s) in this post were provided to me for review. For more information please visit our Disclosure Policy Tab.

Happy Polishing Everyone!
Love,
~Anne~


Sunday, August 24, 2014

Endings Suck!

Hi all! So tonight is the ending of True Blood!  I'm sad to see it go...it was a really entertaining show.... Here is my mani for tonight.... On my thumb I did an eye crying blood because really ending suck! On my Index finger I did a over the top stamp just because I couldn't really think of anything else for Lafayette. Middle finger is of course for Sookie. Ring finger is a corset for Pam one of my favorite characters with some of the sassiest lines. My pinkie finger is for all the dead vamps that exploded through the series! 


 Good Bye Sookie!!!
 
If you are watching tonight enjoy the show!! 

Friday, August 22, 2014

Weekend Water Marble

Hey everyone:) Today I wanted to share what I'll be rockin' this weekend on my nails, water marble using Faby! Yesterday's water marble inspired me to try again with some of my favorite colors, grey and pink!
I used Faby Metropolis and Hollywood Party.


Oh Yeah baby! I love the way this turned out and the combo on colors, it's out of this world! Hope y'all have a great weekend!

Have you entered our Faby giveaway yet?? If not here is the link:  http://southernsisterpolish.blogspot.com/2014/08/faby-swatch-review-and-giveaway.html

Happy Polishing Everyone!
Love,
~Anne~

Thursday, August 21, 2014

Water Marble with Faby!

Hey everybody:) Just wanted to share a quick post on a water marble I wanted to try out using Faby. I used Evergreen and FootPrints on the Beach.


 I think this is a great Fall water marble and I might have to rock this later on in the season! Love the way Evergreen shines like only a foil metallic can!

Have you entered our Faby giveaway yet?? If not here is the link to the post and the entry form is at the bottom! Good Luck!  http://southernsisterpolish.blogspot.com/2014/08/faby-swatch-review-and-giveaway.html

Happy Polishing Everyone!
Love,
~Anne~

Wednesday, August 20, 2014

Faby- Swatch, Review and GIVEAWAY(closed)!

Hey everybody:) Today I have a new polish company to the USA, Faby! They sent me these polishes for review. Ever looked at the high end polishes out there and wished there were more companies? Well Faby has come to the US and let me tell y'all these polishes are high quality and amazing! Here is some quick information on Faby:

"FABY captures the essence of Italian style with its brilliant line of professional nail care products. Each of FABY’s 175 luxurious, richly-pigmented nail lacquers is the answer to every nailophile’s dreams!   

But FABY offers more than just a pretty manicure; wearing FABY is a true color experience. With shades that are inspired by things like Italian culture, literature, cinema and fairytales, FABY nail lacquers are an expression of personal style that encourage you to make a statement and live “La Bella Vita” (“The Beautiful Life”)

FABY’s chip resistant, long lasting professional formulas are based on the latest research and technology and made of the finest ingredients that are free of formaldehyde, formaldehyde resin, dibutyl phthalate, toluene, camphor and other harsh, unnecessary additives.

FABY products are cruelty free and never tested on animals. With the perfect balance of rich pigment and speedy drying times, FABY truly may be the elusive unicorn of nail beauty.

FABY was founded by Faby Line, a family-owned business in Italy with over 30 years of experience in international beauty distribution."


They sent me the Rainbow on Your Nails Collection of 12 polishes, lets get started:)
FootPrints on the Beach is a deep brown cream polish. This polish completely covered in almost one coat (for the blog I used two). Great brown for the fall and for those girls that can't wear bright polishes to work.


Yet Another Pink! is a baby pink cream polish. Oh so pretty and covers in 2-3 coats. This polish is so delicate and sweet and would go with just about everything!


Winter Garden is a shimmery green-blue(teal) polish that shines so bright! This polish went on in 1 coat but again for the blog I used 2, but WOW! What a great winter color and with the shimmer it really is going to be one of my favorites for the winter.


Hollywood Party is a medium pink that kinda looks like bubble gum! So pink it's right up there with a Barbie pink! Went on in 2 coats and looked super pretty on! Looks super bright in the picture but IRL its a bit more muted.


Paper Sky is a blue cream polish that looks just like the name implies! A great blue that covered in 2 coats. A spring or summer blue that kinda reminds me of a china pattern blue!


Metropolis is a grey cream polish that really looks like dried concrete. Covered in 2 coats and I think is going to be a great fall polish for me. Using this polish with a bright color like pink or yellow in the fall is a great way to give your mani a pop of color!

Evergreen is a foil metallic green that covered in 2 coats. I didn't even realize this was a foil metallic polish until I put it on... and WOW! What a great color and shine. Now y'all know me and I can't really stand green polish, but this is on point!


A Perfect Day is a glitter polish that has holo glitter and larger hexagon pink glitter. I did 2 coats of this polish just to show you the pretty glitter, but over another color or just adding more coats will make this polish shine like a diamond on your nails!


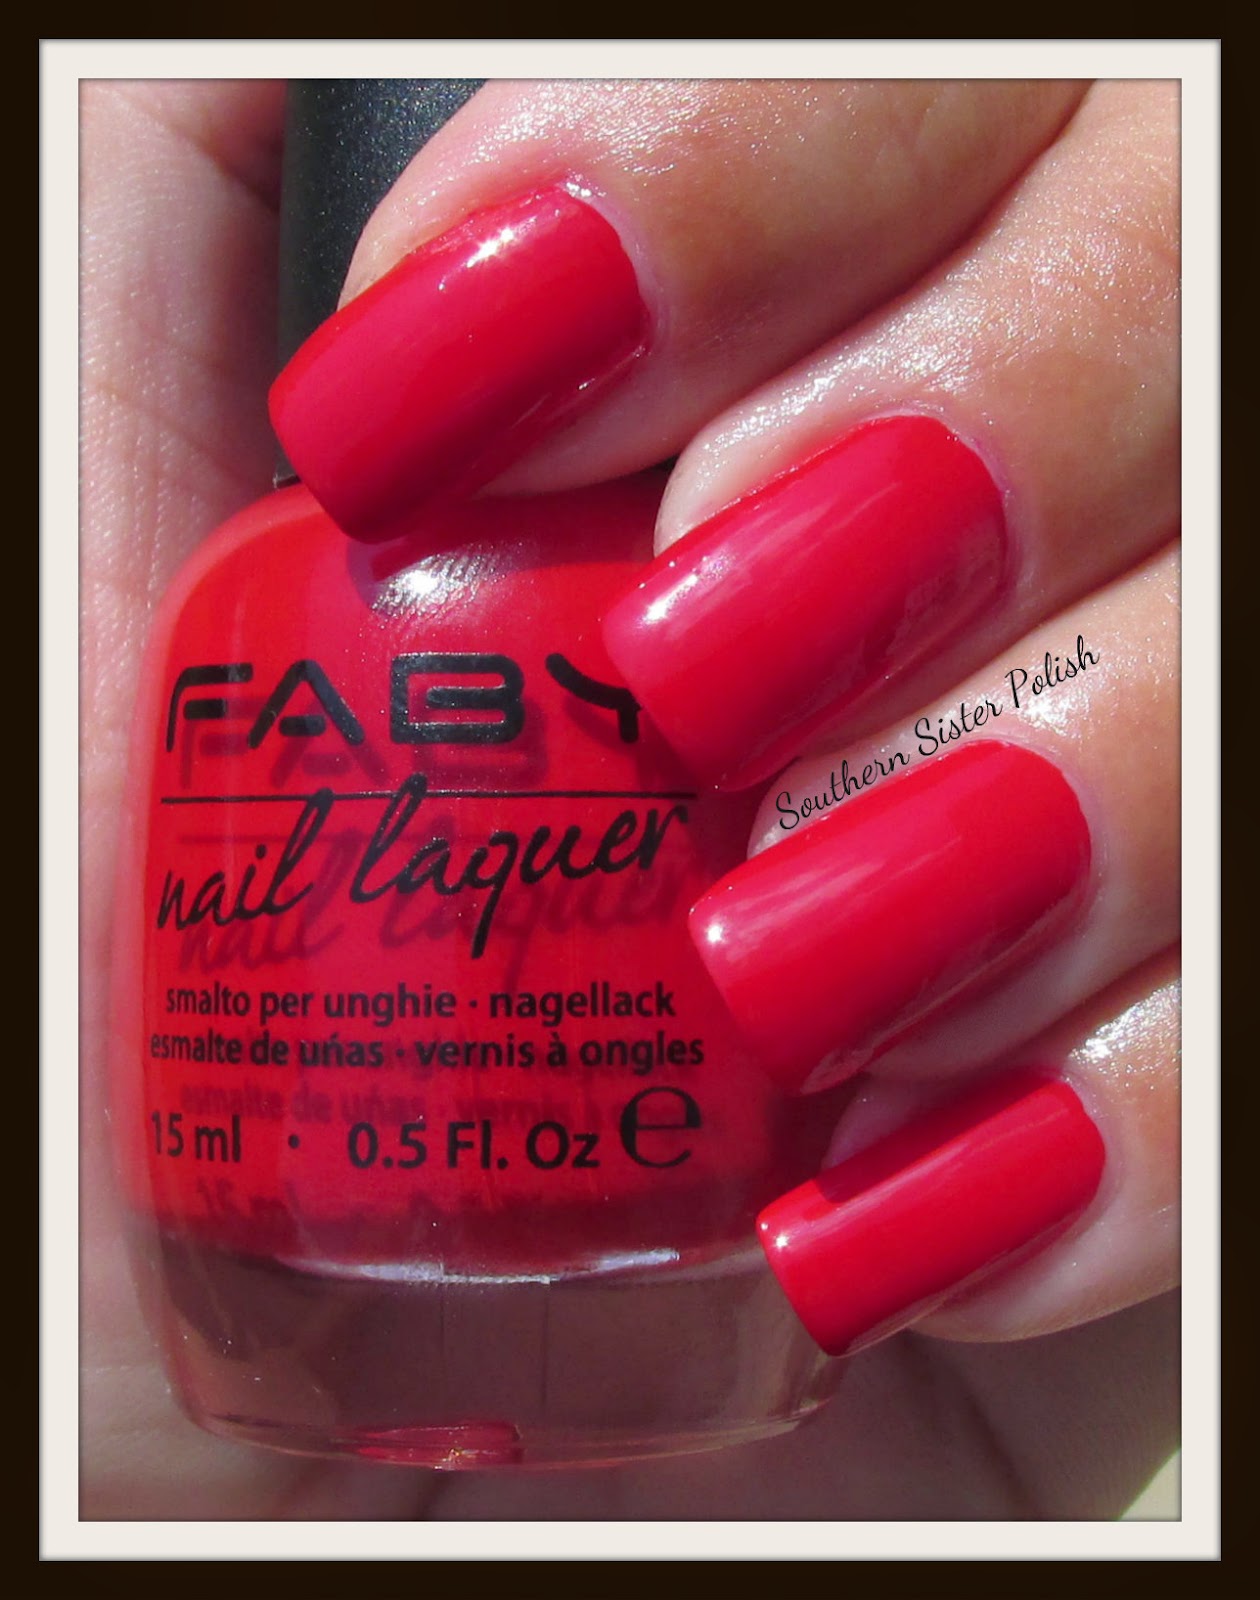
The Most Beautiful In The Realm is a shimmery red that covers in almost 1 coat! This red was amazing and with the shimmer it was everything you could want in a red!


Pepper & Cloves is a shimmery deep brown with a twist of purple (looks burgundy to me), covers in 1 coat! What a great color for fall and winter and the shimmer is out of this world! Just a beautiful color!


Faby's Red is a classic cream red that covers in almost one coat! This is that classic red that everybody needs to have in their collection! Perfect with anything!


Black is Black is a cream black polish that covers in almost 1 coat. Who doesn't need another black? And with this polish it goes on with no streaking and no problems!


Overall I'm super excited to have another high quality polish on the market in the US and love all the colors! They all went on with no problems and came off with no staining (gotta love that!). Faby retails at $18 a bottle and you can find out more about them by clicking on the link HERE.

Now do you want to try some Faby??? Well here is your chance to win a mini set from Faby! Here is a picture of the mini set. It comes with 4 minis from the Fabulous collection including Plastic Jewels and Neon Lights, Sugarful, Mint Bubbles and Hula Hoop Pink. 


a Rafflecopter giveaway

The product(s) in this post were provided to me for review. For more information please visit our Disclosure Policy Tab.


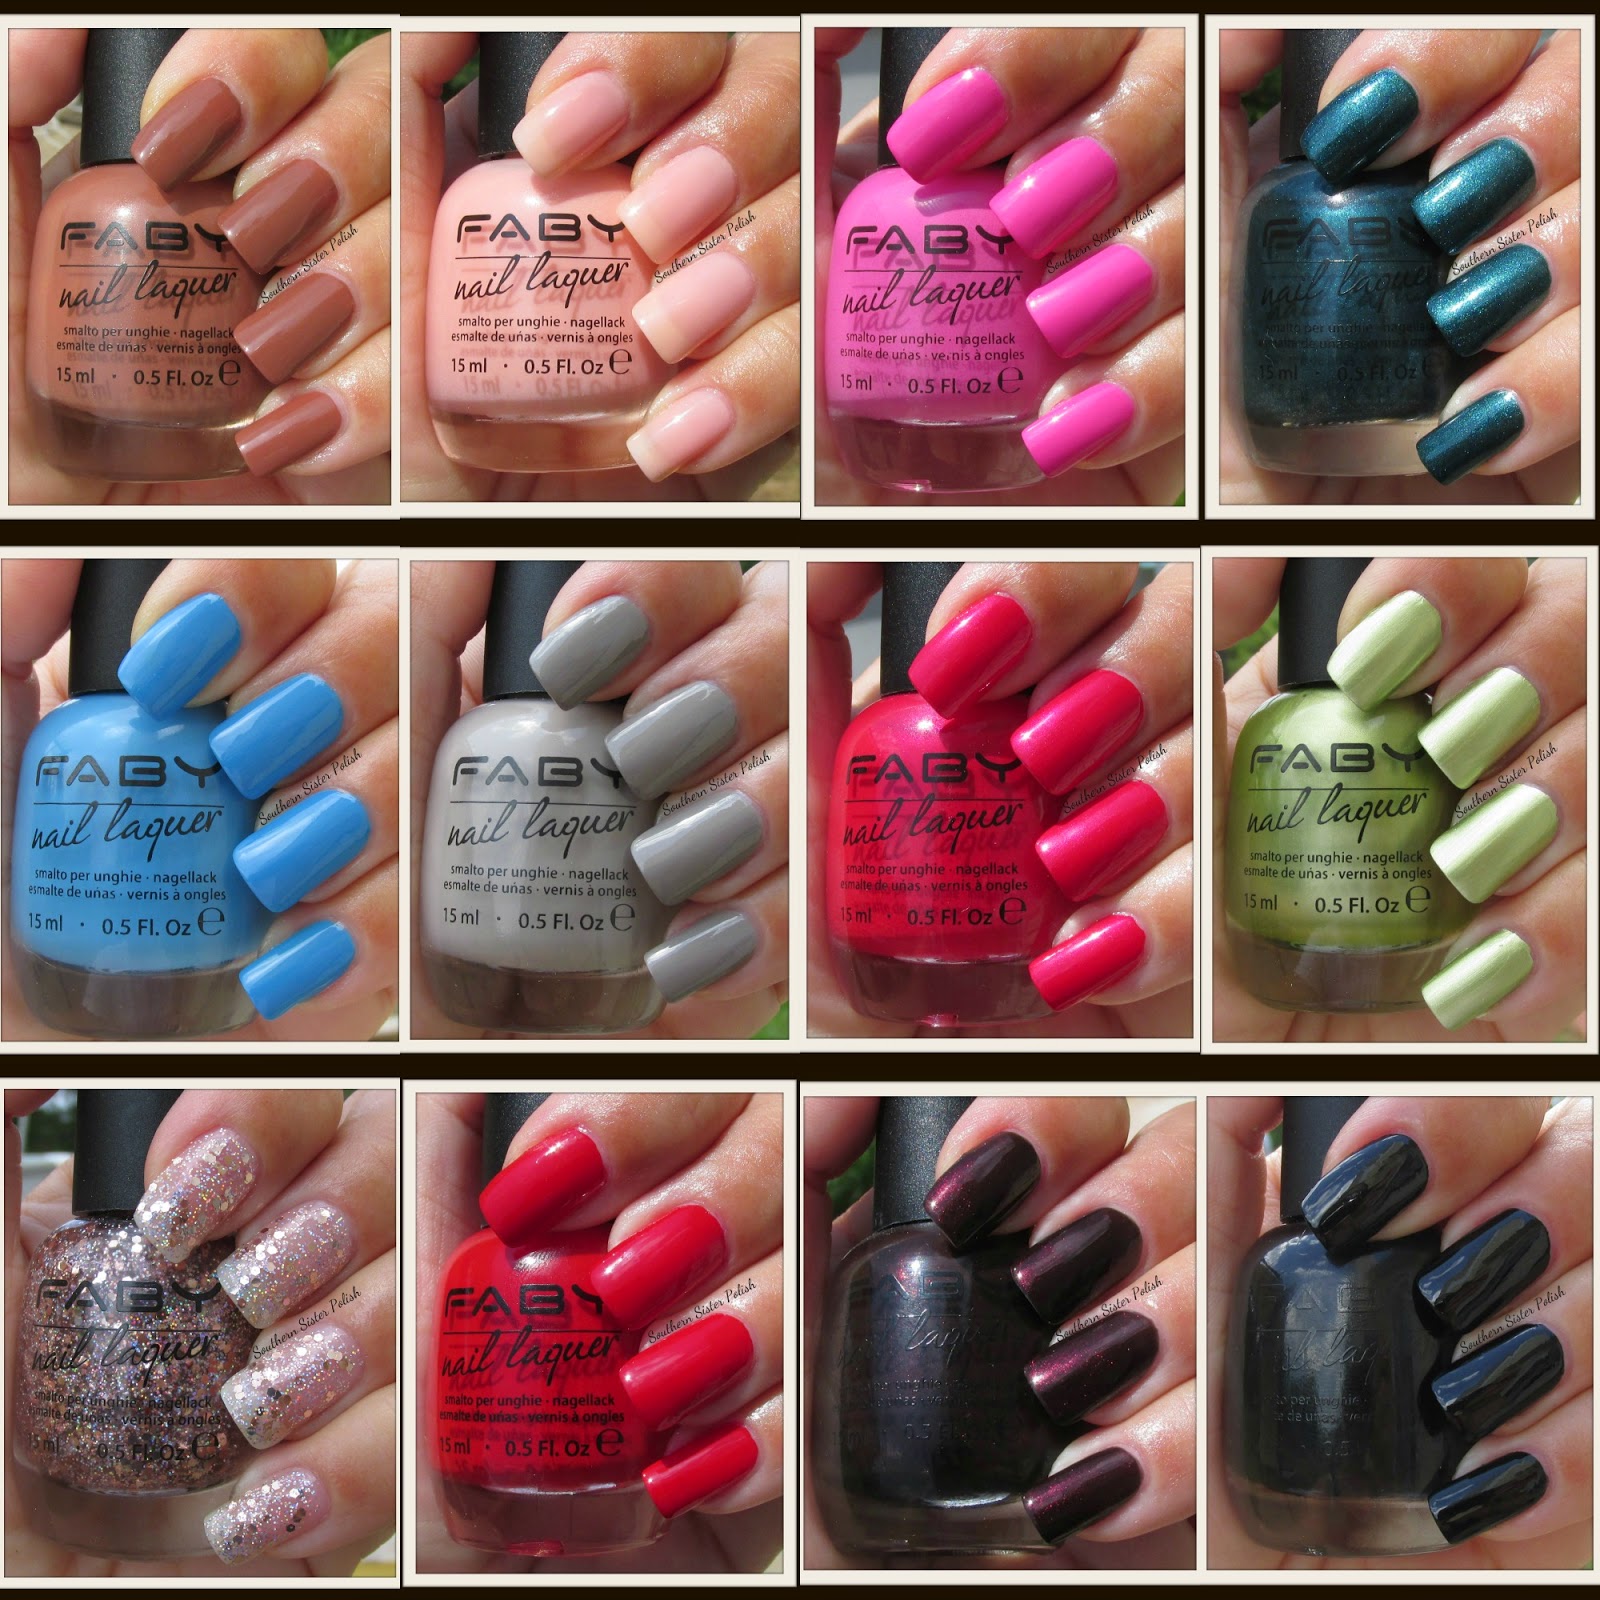
one last look at all 12 I have ♥ 

Happy Polishing Everyone and Good Luck!
Love,
~Anne~

Friday, August 8, 2014

108 degrees of gelaze!

Hi all today's post features 108 degrees from gelaze. I have loved this color so much I believe I've worn it 3 times this summer. Bright pink with magenta shimmer this is really a great color for summer! 


I love the sparkle and shine of 108 degrees! If I had to pick one to buy again out of the few I've tried I'd have to say this would be my pick. Bright and shimmery the color just shines. I hope you all have a great weekend!!

Thursday, August 7, 2014

Throw Back Thursday

Hi everyone. I decided to take a break from gelaze and do a throw back from Zoya's summer collection last year. I did this watermarble before I went away for vacation for a fun weekend mani.  Even though it's not perfect I had to share. I loved the colors and how they popped! 


Thanks for stopping by have a great day!!

Wednesday, August 6, 2014

Shocking pink with a dash of fairy dust!!

Hi all! I'm back again this time I am showing off Gelaze in Shocking Pink with Gelaze Fairy dust on top. I just want to mention I have used fairy dust alone (on my niece's nails) and it's beautiful!! Back to SP & FD combined. I thought SP would have been a bit more neon and I was a bit disappointed in the brightness (that's why I bought Pink Voltage and a few others). As a bubble gum pink it's a great color and I do like it I was just hoping for KA-POW in your face pink.


Overall I like this combo I even like Shocking Pink on it's own. It's just when I first put it on it wasn't as bright as I thought it was going to be. One more Gelaze to show you this week (on Friday) which I think is my favorite Gelaze. Have a great day everyone. 


Monday, August 4, 2014

Pink Voltage Gelaze

Hi all!! This summer I've been using gelaze a lot.  You might have already seen this one if you follow me on Instagram ( @ssppatricia ).  I love the ease it goes on with (your color polish x2, and the top coat) and the colors the gel comes in.  This is Pink Voltage. I picked up the star from 5below in the nail section of the store. I simply added the stars on the last coat of polish. I put the star on and slightly pressed it in to the polish (with a toothpick) before curing in the light (then last step was top coating).


I really like how pretty these are and how easy they are to use.  With some of the polish I did find runny but I believe that was my error and I shook the heck out of it to see if that would help and in some cases it did. I have a few more to show off this week so stick with me... Have a nice week everyone.


Friday, August 1, 2014

Water Marble ....................With NO Water!

Hey everybody:) Today I wanted to show you something that I've wanted to try for a while. Water Marbling without water, yes you read that right NO WATER! This technique is what my sister called making decals.
This is so much fun, but you can't do everything that you can with water marbling but you can do what I've done in this post.

How to make decals:

1. Pick out colors, I chose to work with my Salon Perfect Neon Collection.
Grab a small amount of Parchment paper. This paper allows you to remove your decal without wax or tearing.

2. Open your colors. Make a base with the color you want to use first, make about 3 or 4 strokes wide. You can use clear or white for this step if you want.
Start adding your other colors on top. Go almost to the edge with the next color and make a very light handed (gentle) stroke. Fill in with next colors.


3. After you have the colors the way you want, take a toothpick and drag to make your design. Don't worry about the polish looking like a glob, it will dry flat(or almost).
I started in the middle pulling up and down, like I would in a water marbling.
Then pulling side by side to make the lines, after that I added 2 more lines up and down. *Try different colors first, they make the mani colorful and unique.


4. *Most IMPORTANT step... Let dry until completely dry!!!! I let my decal dry for about 2 hours!

These are the ones I made for me.
I made an extra one just in case. 
5. Time to remove your decal, roll paper under and take your toothpick and slide it under the decal going back and forth. Use a gentle hand in this process.


6. Now you are ready for the placement. Prep nail with clear polish (I blew on my twice) and add decal. press lightly into place (I pressed with my toothpick around the cuticle) and trim remaining polish with small scissors.


7. Add top coat and you're done, don't forget to do the underside of your nail to make a good seal!


OMG I love these so much and can't wait to try out more decals! I hope this post helps with the how to and maybe some of y'all can try it out and give me a shout out on Instagram @SSPAnne so I can see what you've done. Leave me a comment here and tell me what you think of these decals:)

Happy Polishing Everybody!
Love, 
~Anne~