Showing posts with label Creative Fantasy. Show all posts

Saturday, March 21, 2015

Flip Flops and Pedicures!

Hey everybody:) Today's post is all about my feet... so if you don't like feet look away!!
Here in Ga the weather is getting nice and for me that means flip flops and pedicures! I did my own pedicure yesterday and decided to make some nail decals for my toes. If you want to know more on how I make my nail decals here is the link.... DECALS! Now I have been proactive in the care of my feet by using Curél Foot Therapy, this stuff is amazing and have made my feet super soft! And after all the fuss and muss of the pedicure and making my nails decals this is what I came up with ... P.S. I only had to make 2 half dollar size decals!


For the first time doing these decals for my toes I think they turned out pretty good! For this pedi I used Salon Perfect's Flamingo Flair, Yowza Yellow, Fired up Fuchsia, Loopy Lime, Bermuda Baby, and China Glaze Creative Fantasy. I added a diamond gem on the big toe, cause I might as well at this point! Just FYI some of the decals didn't quite fit, but I just added pink to the top to finish the look. I hope you like my pedi as much as I do:) Leave me a comment and tell me what y'all think.

Happy Polishing Everyone!
Love,
~Anne~

Wednesday, October 29, 2014

31 Days of October... I See GHOSTS!


Hey everybody:) I have a really cute Halloween mani for y'all that I saw on Pinterest . I'm not sure who did the original mani cause the lack of watermark. I started my mani off with China Glaze Creative Fantasy (purple) for the tips. After drying I painted on the graves, pumpkins, ghosts, and moon; I also added star stickers. After drying again I added a little bit of China Glaze Fairy Dust. Here is my mani I See GHOST!


I think this mani is so super cute for Halloween, and was easier than I thought it would be to create! Leave me a comment and tell me what you think of this mani!

Happy Polishing Everyone!
Love,
~Anne~

Friday, August 1, 2014

Water Marble ....................With NO Water!

Hey everybody:) Today I wanted to show you something that I've wanted to try for a while. Water Marbling without water, yes you read that right NO WATER! This technique is what my sister called making decals.
This is so much fun, but you can't do everything that you can with water marbling but you can do what I've done in this post.

How to make decals:

1. Pick out colors, I chose to work with my Salon Perfect Neon Collection.
Grab a small amount of Parchment paper. This paper allows you to remove your decal without wax or tearing.

2. Open your colors. Make a base with the color you want to use first, make about 3 or 4 strokes wide. You can use clear or white for this step if you want.
Start adding your other colors on top. Go almost to the edge with the next color and make a very light handed (gentle) stroke. Fill in with next colors.


3. After you have the colors the way you want, take a toothpick and drag to make your design. Don't worry about the polish looking like a glob, it will dry flat(or almost).
I started in the middle pulling up and down, like I would in a water marbling.
Then pulling side by side to make the lines, after that I added 2 more lines up and down. *Try different colors first, they make the mani colorful and unique.


4. *Most IMPORTANT step... Let dry until completely dry!!!! I let my decal dry for about 2 hours!

These are the ones I made for me.
I made an extra one just in case. 
5. Time to remove your decal, roll paper under and take your toothpick and slide it under the decal going back and forth. Use a gentle hand in this process.


6. Now you are ready for the placement. Prep nail with clear polish (I blew on my twice) and add decal. press lightly into place (I pressed with my toothpick around the cuticle) and trim remaining polish with small scissors.


7. Add top coat and you're done, don't forget to do the underside of your nail to make a good seal!


OMG I love these so much and can't wait to try out more decals! I hope this post helps with the how to and maybe some of y'all can try it out and give me a shout out on Instagram @SSPAnne so I can see what you've done. Leave me a comment here and tell me what you think of these decals:)

Happy Polishing Everybody!
Love, 
~Anne~

Saturday, June 15, 2013

Neon Rainbow

Hi all today I tried something new...not sponging just using the nail polish brush I painted a rainbow...then covered it with a stamp from my XL-A LeaLacC stamping plate with konad white special polish. 


I really liked this and the dots calmed the rainbow down a bit but it still was NEON.

Let me know what you think. How do you wear your neon's?

Monday, June 10, 2013

Tie Dye Nails

Hey everybody! Today I have a great summer mani for y'all ..... Tie Dye Nails!! So do you remember when you where a kid and your mom said lets do something different like tie dye, and you were thinking of those awesome tees they sell at the beach but yours came out like a dirty old shirt? Well that is what happen with me and this mani the first 3 times I tried and then I finally got it right and that is what I have for y'all today!

I started off with a white base polish, took out all of my China Glaze neon's and got to work. I usually work ROYGBIV ( the colors of the rainbow) but started this mani backwards. You have to work not fast but quickly. So from the bottom corner right side I used a dab of Creative Fantasy, around that Splish Splash, Kiwi Cool-ada, Yellow Polka Dot Bikini, Sun Worshiper, and finally Pool Party. And then with a thin angle nail art brush dipped in acetone I made my lines, I did this very light so that the white would come back through and make the tie dye affect. Here are my Tie Dye Nails!


The night I did these nails we went outside to play a game with the kids and my nails looked like they were glowing in the dark, I love them! My daughter wanted me to do her toes, so much fun!
Leave me a comment and tell me what you think of these Tie Dye nails!

Happy Polishing Everybody!
Love,
~Anne~

Sunday, December 2, 2012

Cirque Du Soleil: Worlds Away

Hello all today I have for you a few polishes from China Glaze's Cirque Du Soleil Worlds Away collection! Beautiful bold colors that are amazing! I was caught by surprise by my favorite which I will share at the end of my post here. So shall we get started?

Bend Over Backwards is described as a " pepper red shimmer"... This is 2 coats that went on perfectly and the shimmer just SHINES. 


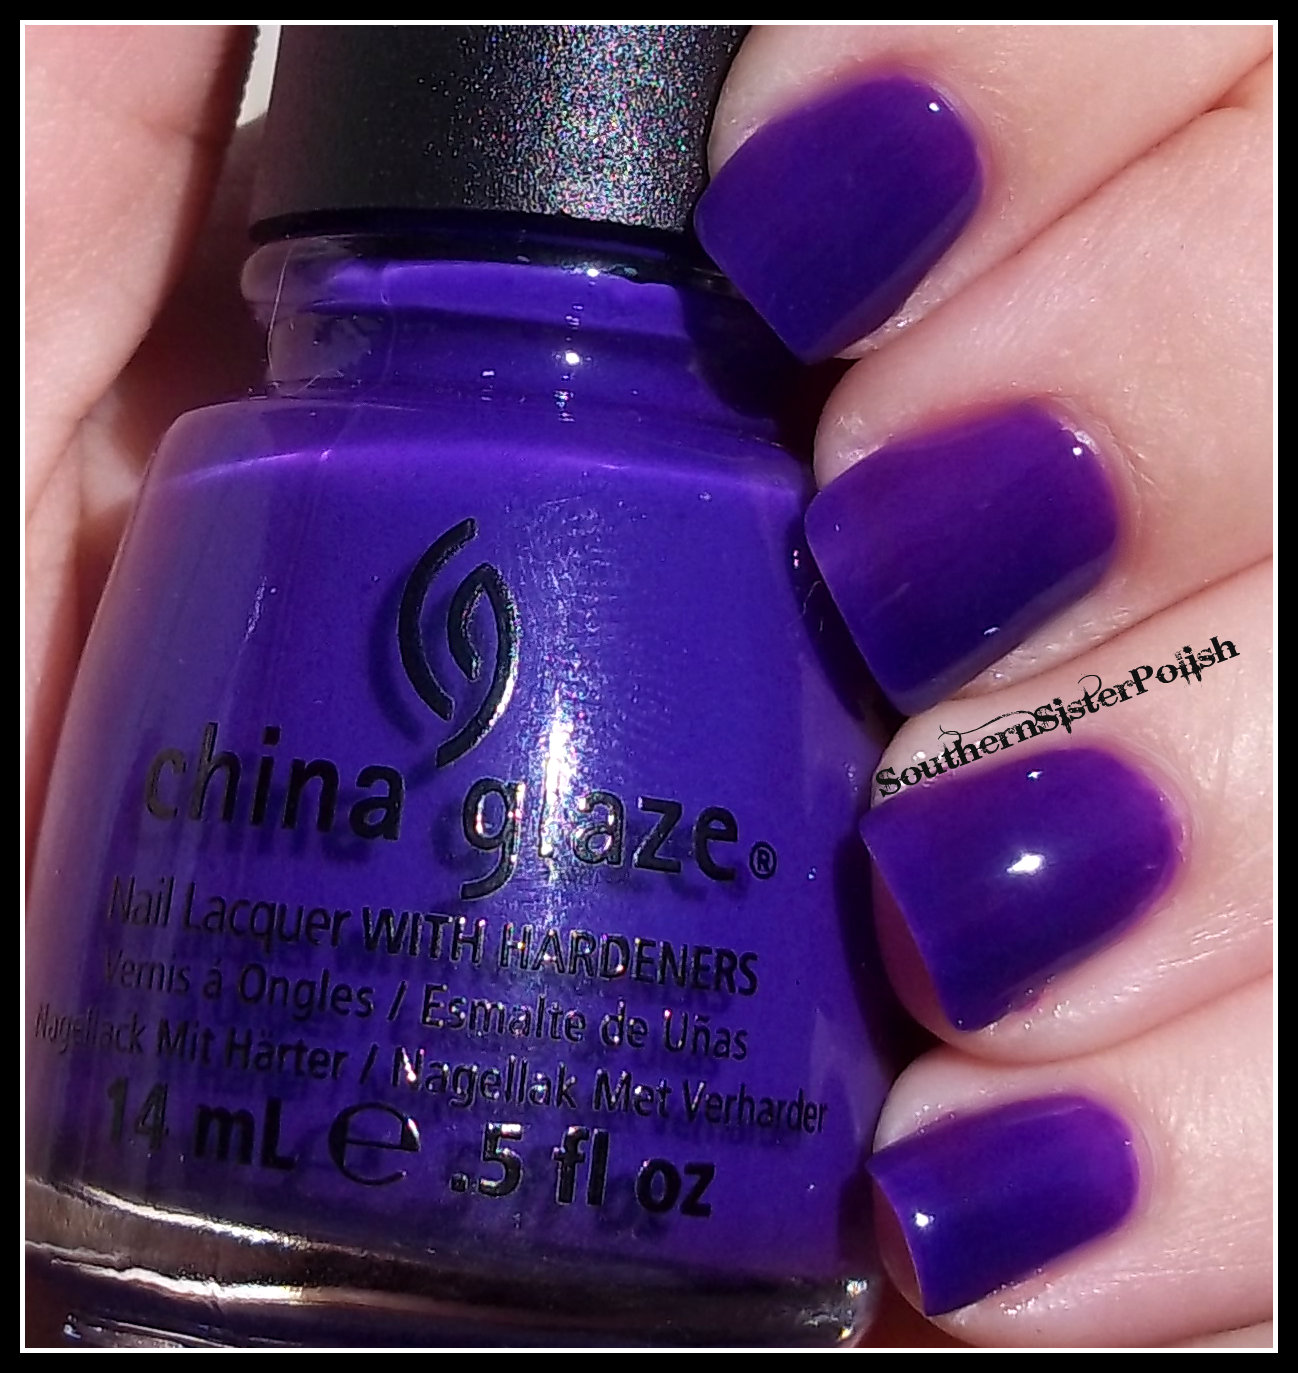
Creative Fantasy is described as a "grape neon" and it doesn't disappoint! This is 3 coats of Creative Fantasy which dried matte.


Get Carried Away is described as " Multi-sized black and red collage glitter with black creme". I put two coats of Get Carried Away over China Glaze White on White on my index, middle and pinkie and 2 coats on on my ring finger by itself. 


 Hanging in the Balance is described as "Cerulean blue creme". This is 2 coats of Hanging in the Balance.

And this is how I wore it! I took China Glaze Deviantly Daring and White on White and my nail art brush and a doter...a few swipes of Deviantly Daring and then I did the same with white! Loved it!!!

 Igniting Love is described as "Hot tamale red creme". This is 2 coats of Igniting Love.


Water You Waiting For is described as "Shimmering blue green purple". You really catch the colors when you turn your hand this way or that..this is 3 coats of Water You Waiting For and on my ring finger has Hanging in the Balance with one coat of Water You Waiting For.


These colors are really lovely and to me so capture Cirque Du Soleil! My favorite polish was really a close call with these between Water You Waiting For which is no surprise as I love blue polishes that shift to green and purple! The surprise for me is that I absolutely fell in love with Bend Over Backwards!
You can find China Glaze on Facebook and Twitter.

The product(s) in this post were provided to me for review. For more information please visit our Disclosure Policy Tab.